Table of Contents
What is Press Brake Bend Allowance
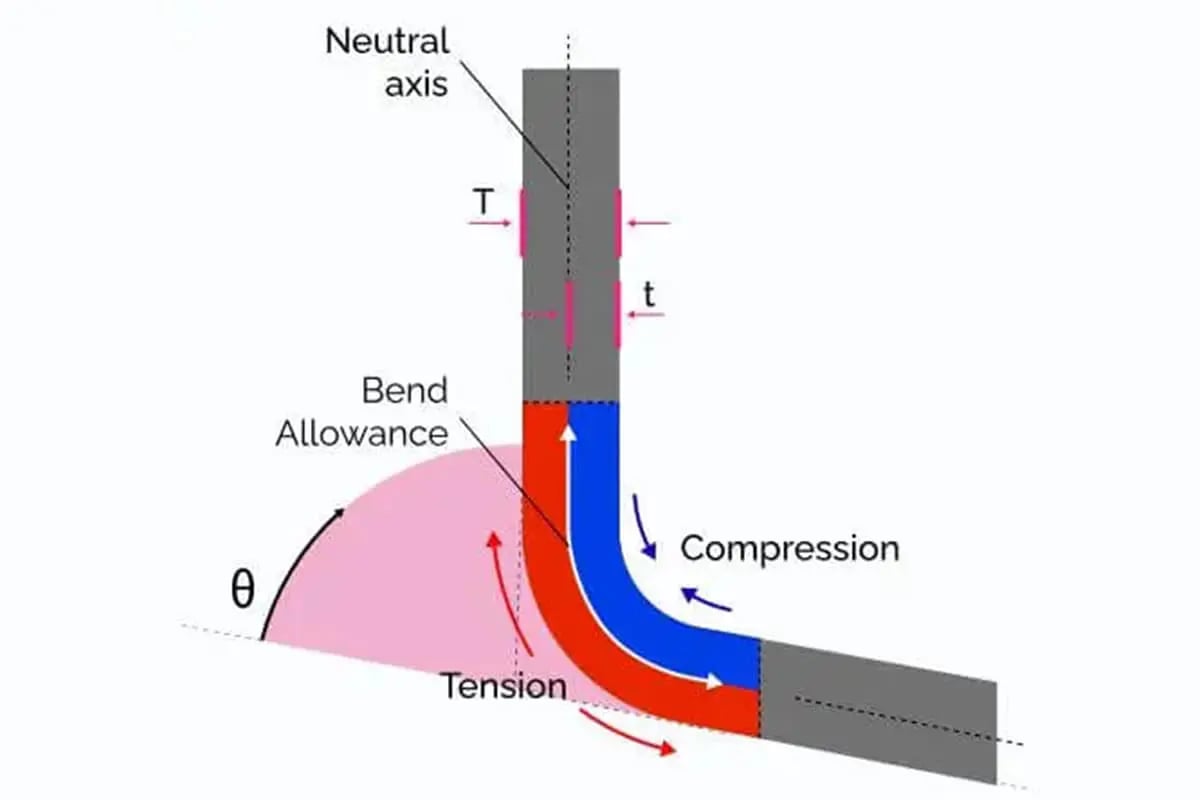
Press brake bend allowance refers to the additional material length required for a given bend angle in a metal sheet or plate when using a press brake. When metal is bent, it undergoes both stretching and compression, leading to material elongation on the outer surface of the bend and compression on the inner surface. The bend allowance compensates for this material deformation, ensuring that the final dimensions of the bent part match the intended specifications.
The bend allowance is influenced by several factors, including the material type, thickness, bend radius, and bend angle. Different materials exhibit varying degrees of springback, which is the tendency of the metal to return to its original shape after bending. Additionally, the bend radius, or the radius of the die used in the bending process, affects the amount of stretching and compression experienced by the metal.
Calculating the bend allowance accurately is crucial for achieving precise bend angles and dimensions in metal bending operations. It helps prevent errors such as underbending or overbending, which can result in parts that do not meet the required specifications. Various methods, such as empirical formulas, tables, and computer-aided design (CAD) software, are used to determine the bend allowance based on the specific parameters of the bending operation.
Overall, understanding and accurately calculating the bend allowance is essential for achieving high-quality and dimensionally accurate bent parts in press brake operations.

Bend Allowance Formula
Bend Allowance Formula for Steel
How was the formula for bend allowance created? And how do you calculate press brake bend allowance?
Bend allowance is dependent on the inside formed radius. The lower V die opening determines the inside radius (I.R.) of a formed part. The inside radius for mild steel is 5/32 x lower V die opening (W) when the punch radius is less than 5/32 x W.
If I.R.< Material Thickness (t) Bend Allowance = (3.1416/180) x (I.R. + t/3) x A If I.R.> 2 x Material Thickness (t)
Bend Allowance = (3.1416/180) x (I.R. + t/2) x A
Where A= (180 – Bend Included Angle)
If the inside radius is equal to t or 2t, or between t and 2t, the bend allowance is calculated by interpolating the bend allowance values from the two formulas mentioned above.
Besides, to calculate this bending allowance, you can also use the following formula:

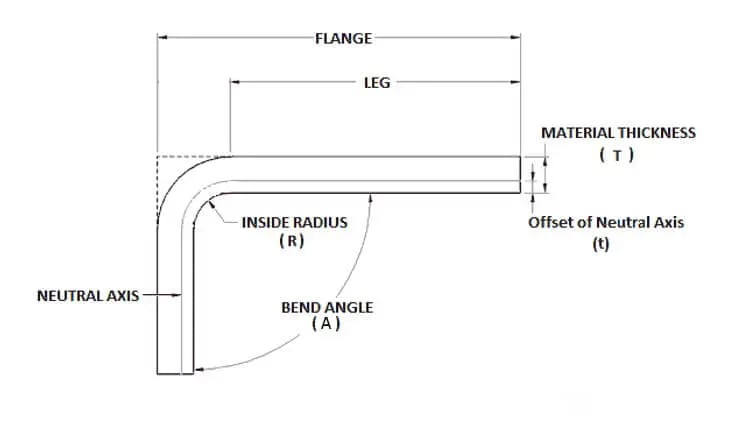
Bending Allowance = Aπ/180(R+K*T)
BA – Bend Allowance
A – bend angle in deg
R – inside bend radius in m
K – constant
T – material thickness in m
This formula considers the diverse geometries and properties of the parts to be formed.
The material thickness (T), bending angle (A), inner bending radius (R), and K-factor of the material to be bent are the most critical factors in this calculation.
As evident from the above formula, calculating the bending allowance is a simple process.
You can determine the bending allowance by substituting the aforementioned values into the formula.
When the bending angle is 90°, the bending allowance formula can be simplified as follows:
Bending Allowance = π/2(R+K*T)
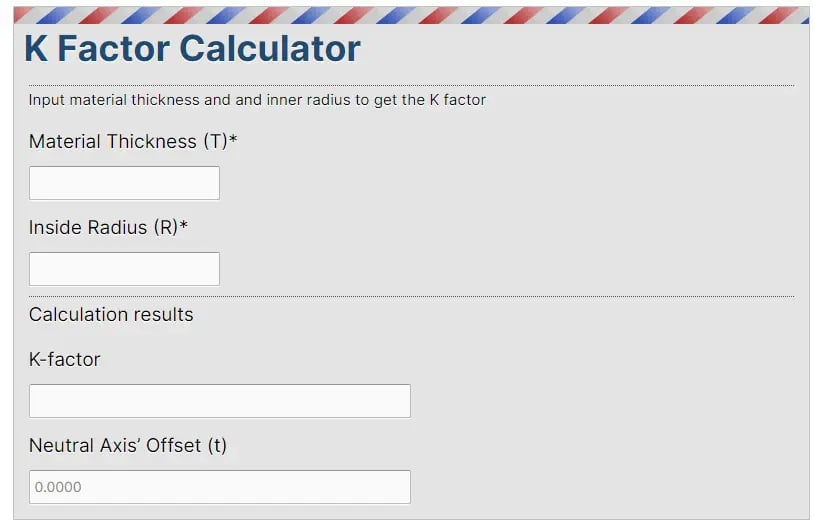
Note: The K-factor for most standard materials and thicknesses typically falls between 0 and 0.5.
You can accurately calculate the value of the K-factor using the following K-factor calculator:

Bend Allowance Formula for Aluminum
The bending allowance for an aluminum plate is 1.6 times the material thickness subtracted from the sum of two bending lengths.
The formula for calculating the bending of an aluminum plate is L = L1 + L2 – 1.6T, where T represents the thickness of the aluminum plate, L1 and L2 are the two bending lengths, and 1.6T represents the bending allowance.
This value is an empirical value established during production.
To determine the expanded size of the aluminum plate, subtract 1.6 times the material thickness from the sum of the two bending lengths.
It’s important to note that this formula is only applicable to aluminum plates with a bending opening of 6 times the thickness of the aluminum plate.
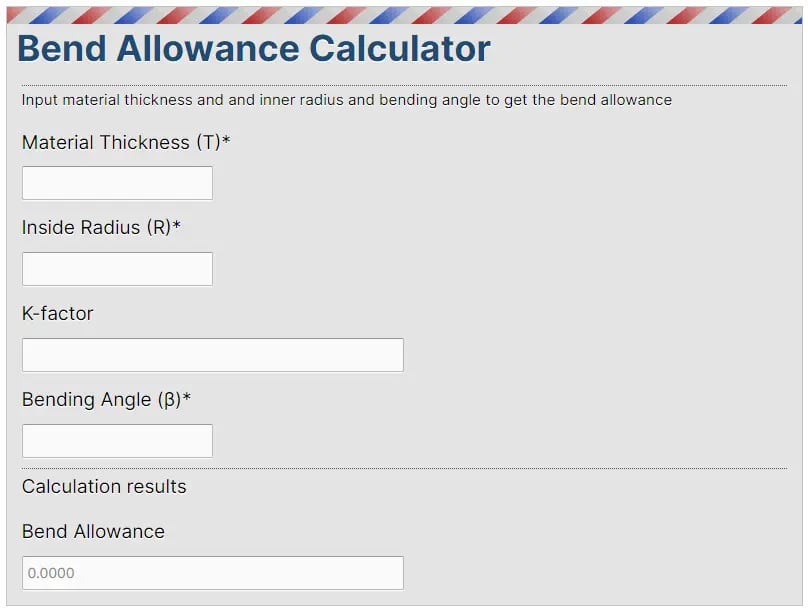
Bend Allowance Calculator
The bending allowance calculator provided below simplifies the process of calculating the bending allowance value.

Bend Allowance Chart
The bending allowance table is a convenient resource that lists the thickness, bending radius, bending angle, bending allowance, or bending deduction values of common materials in a tabular format.
This information is stored in a designated location, making it easy to access and select when needed.
The tables below provide bending allowances for iron, aluminum, and copper respectively, for reference. They allow you to determine the required bend allowances for different material thicknesses easily.
(1) Bending allowance chart for cold rolled steel sheet SPCC (electro-galvanized sheet SECC)
| TV | Angle | 0.6 | 0.8 | 1 | 1.2 | 1.5 | 2 | 2.5 | 3 | 3.5 | 4 | 4.5 | 5 | Shortest size |
| V4 | 90 | 0.9 | 1.4 | 2.8 | ||||||||||
| V4 | 120 | 0.7 | ||||||||||||
| V4 | 150 | 0.2 | ||||||||||||
| V6 | 90 | 1.5 | 1.7 | 2.15 | 4.5 | |||||||||
| V6 | 120 | 0.7 | 0.86 | 1 | ||||||||||
| V6 | 150 | 0.2 | 0.3 | 0.4 | ||||||||||
| V7 | 90 | 1.6 | 1.8 | 2.1 | 2.4 | 5 | ||||||||
| V7 | 120 | 0.8 | 0.9 | 1 | ||||||||||
| V7 | 150 | 0.3 | 0.3 | 0.3 | ||||||||||
| V8 | 90 | 1.6 | 1.9 | 2.2 | 2.5 | 5.5 | ||||||||
| V8 | 30 | 0.3 | 0.34 | 0.4 | 0.5 | |||||||||
| V8 | 45 | 0.6 | 0.7 | 0.8 | 1 | |||||||||
| V8 | 60 | 1 | 1.1 | 1.3 | 1.5 | |||||||||
| V8 | 120 | 0.8 | 0.9 | 1.1 | 1.3 | |||||||||
| V8 | 150 | 0.3 | 0.3 | 0.2 | 0.5 | |||||||||
| V10 | 90 | 2.7 | 3.2 | 7 | ||||||||||
| V10 | 120 | 1.3 | 1.6 | |||||||||||
| V10 | 150 | 0.5 | 0.5 | |||||||||||
| V12 | 90 | 2.8 | 3.65 | 4.5 | 8.5 | |||||||||
| V12 | 30 | 0.5 | 0.6 | 0.7 | ||||||||||
| V12 | 45 | 1 | 1.3 | 1.5 | ||||||||||
| V12 | 60 | 1.7 | 2 | 2.4 | ||||||||||
| V12 | 120 | 1.4 | 1.7 | 2 | ||||||||||
| V12 | 150 | 0.5 | 0.6 | 0.7 | ||||||||||
| V14 | 90 | 4.3 | 10 | |||||||||||
| V14 | 120 | 2.1 | ||||||||||||
| V14 | 150 | 0.7 | ||||||||||||
| V16 | 90 | 4.5 | 5 | 11 | ||||||||||
| V16 | 120 | 2.2 | ||||||||||||
| V16 | 150 | 0.8 | ||||||||||||
| V18 | 90 | 4.6 | 13 | |||||||||||
| V18 | 120 | 2.3 | ||||||||||||
| V18 | 150 | 0.8 | ||||||||||||
| V20 | 90 | 4.8 | 5.1 | 6.6 | 14 | |||||||||
| V20 | 120 | 2.3 | 3.3 | |||||||||||
| V20 | 150 | 0.8 | 1.1 | |||||||||||
| V25 | 90 | 5.7 | 6.4 | 7 | 17.5 | |||||||||
| V25 | 120 | 2.8 | 3.1 | 3.4 | ||||||||||
| V25 | 150 | 1 | 1 | 1.2 | ||||||||||
| V32 | 90 | 7.5 | 8.2 | 22 | ||||||||||
| V32 | 120 | 4 | ||||||||||||
| V32 | 150 | 1.4 | ||||||||||||
| V40 | 90 | 8.7 | 9.4 | 28 | ||||||||||
| V40 | 120 | 4.3 | 4.6 | |||||||||||
| V40 | 150 | 1.5 | 1.6 |
(2) Bending allowance chart for aluminum plate
| TV | Angle | 0.6 | 0.8 | 1 | 1.2 | 1.5 | 2 | 2.5 | 3 | 3.5 | 4 | 4.5 | 5 | Shortest size |
| V4 | 1.4 | 2.8 | ||||||||||||
| V6 | 1.6 | 4.5 | ||||||||||||
| V7 | 1.6 | 1.8 | 5 | |||||||||||
| V8 | 1.8 | 2.4 | 3.1 | 5.5 | ||||||||||
| V10 | 2.4 | 3.2 | 7 | |||||||||||
| V12 | 2.4 | 3.2 | 8.5 | |||||||||||
| V14 | 3.2 | 10 | ||||||||||||
| V16 | 3.2 | 4 | 4.8 | 11 | ||||||||||
| V18 | 4.8 | 13 | ||||||||||||
| V20 | 4.8 | 14 | ||||||||||||
| V25 | 4.8 | 5.4 | 6 | 17.5 | ||||||||||
| V32 | 6.3 | 6.9 | 22 |
(3) Bending allowance chart for copper plate
| Angle | 0.6 | 0.8 | 1 | 1.2 | 1.5 | 2 | 2.5 | 3 | 3.5 | 4 | 4.5 | 5 | Shortest size |
| 90 | 3.6 | 5.2 | 6.8 | 8.4 | 28 | ||||||||
| 120 | |||||||||||||
| 150 |
- Download the PDF file of the bend allowance chart
(4) Amada bending allowance chart
| MATERIAL | SPCC | SUS | Al (LY12) | SECC | ||||
|---|---|---|---|---|---|---|---|---|
| T | ΔT | ΔK | ΔT | ΔK | ΔT | ΔK | ΔT | ΔK |
| T=0.6 | 1.25 | 1.26 | ||||||
| T=0.8 | 0.18 | 1.42 | 0.15 | 1.45 | 0.09 | 1.51 | ||
| T=1.0 | 0.25 | 1.75 | 0.20 | 1.80 | 0.30 | 1.70 | 0.38 | 1.62 |
| T=1.2 | 0.45 | 1.95 | 0.25 | 2.15 | 0.50 | 1.90 | 0.43 | 1.97 |
| T=1.4 | 0.64 | 2.16 | ||||||
| T=1.5 | 0.64 | 2.36 | 0.50 | 2.50 | 0.70 | 2.30 | ||
| T=1.6 | 0.69 | 2.51 | ||||||
| T=1.8 | 0.65 | 3.00 | ||||||
| T=1.9 | 0.60 | 3.20 | ||||||
| T=2.0 | 0.65 | 3.35 | 0.50 | 3.50 | 0.97 | 3.03 | 0.81 | 3.19 |
| T=2.5 | 0.80 | 4.20 | 0.85 | 4.15 | 1.38 | 3.62 | ||
| T=3.0 | 1.00 | 5.00 | 5.20 | 1.40 | 4.60 | |||
| T=3.2 | 1.29 | 5.11 | ||||||
| T=4.0 | 1.20 | 6.80 | 1.00 | 7.00 | ||||
| T=5.0 | 2.20 | 7.80 | 2.20 | 7.80 | ||||
| T=6.0 | 2.20 | 9.80 | ||||||
Note:
- The V12 coefficient for 2mm C profile is 3.65 and that for other 2mm plates is 3.5). The edge folding bend allowance for 2mm plate is 1.4;
- The bend allowance for 6mm copper plate is 10.3;
- The bend allowance for 8mm copper plate is12.5;
- The bend allowance for 10mm copper plate is 15;
- The bend allowance for 12mm copper plate is 17;
- The bend allowance for 3.0 stainless steel with V25 die is 6;
- The bend allowance for 3.0 stainless steel with V20 die is 5.5;
- (The copper bars exceeding 6mm all use the bending allowance of V40 lower die)


